eCommerce Setup
Setup:
Begin the 5 step process to set up using this tab.
Step 1 - Sign Up Procedure will either allow Users to sign up or be invited.

Select Next at the bottom right to continue the set up.
Step 2 - The User can shop for either all Active products in the store (meaning that the status of the item in Zoho Inventory is Active) or you can select the items from Zoho in the left screen and add them to the store. Use the Sync Product Images button to display Zoho Inventory product images in the plugin.
When “Show All Active Products in Store” is selected, the list is static and items cannot be moved from Products in Zoho and Products in Online Store. Deselecting the option will allow you to add or remove items by simply clicking on each item.

Select Next at the bottom right to continue the set up.
Step 3 - Display Zoho Inventory Categories by selecting “Show Categories” and upload a custom image by selecting the Category on the left and uploading an image file:
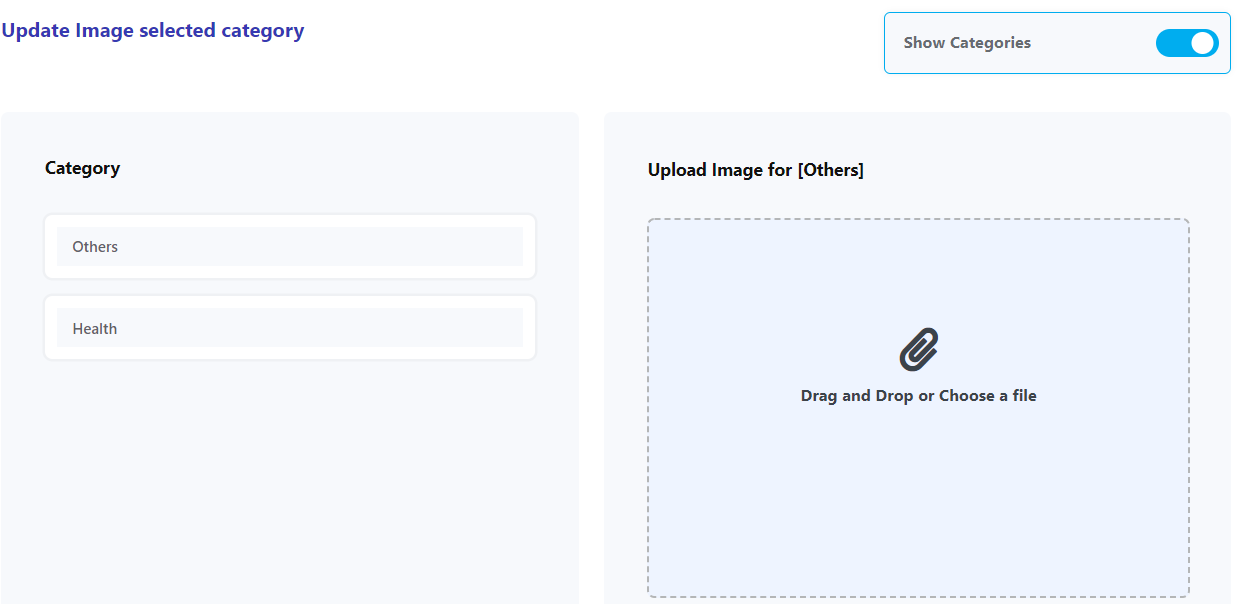
Note that the only categories that will display are the ones associated with active items in Zoho Inventory.
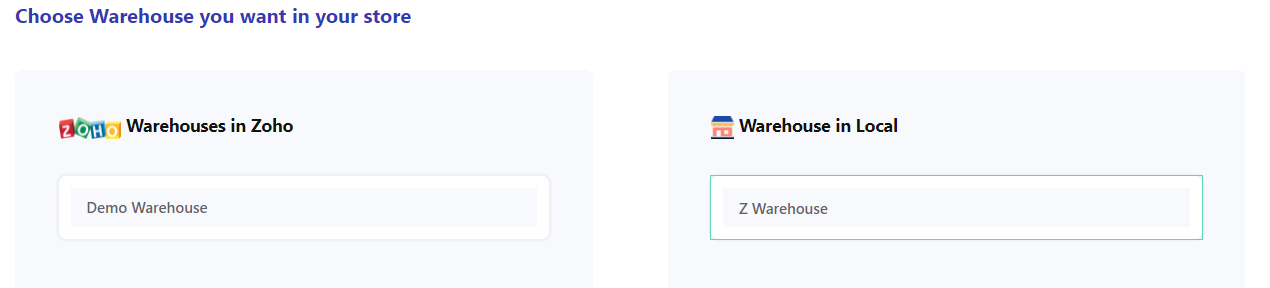
Step 4 - Display Warehouses from Zoho Inventory where applicable:
Step 5 - User Filters are available to the Admin for Users to display desired results based on criteria:

Hit Save at the bottom right to save all 5 steps of the Setup process.